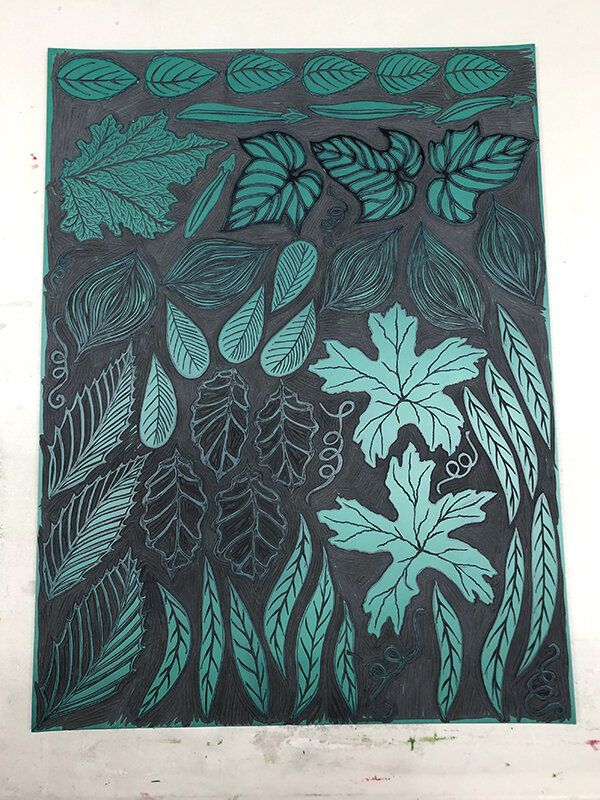
Passionflowers and Leaves
Having finished my leaves linocut block, I printed it a bunch of times on a variety of papers. I get these papers in rolls that are discarded from a local manufacturer, and most of them are just white in a variety of weights and finishes, but occasionally they toss out some more interesting textures and colors, so I used a lot of those items along with various papers I have piled around the studio, many of which are probably not archival but I like them anyway.
I also carved and printed a relief plate with three different versions of a passionflower, and printed that up as well. I cut all this stuff out and arranged and rearranged until I go the body shape I wanted for the woman in my next piece. Then I carefully tacked her together with glue and added some stronger pieces to the back to keep her together. I am putting her in a large mandorla which I will construct next.

![Leaning Rowhouses [green]](https://images.squarespace-cdn.com/content/v1/5882c79429687f5efc6ab887/1600302236930-TM4NOZ9A80T161X76BRZ/Schorr_Natalie_12+smaller.jpg)

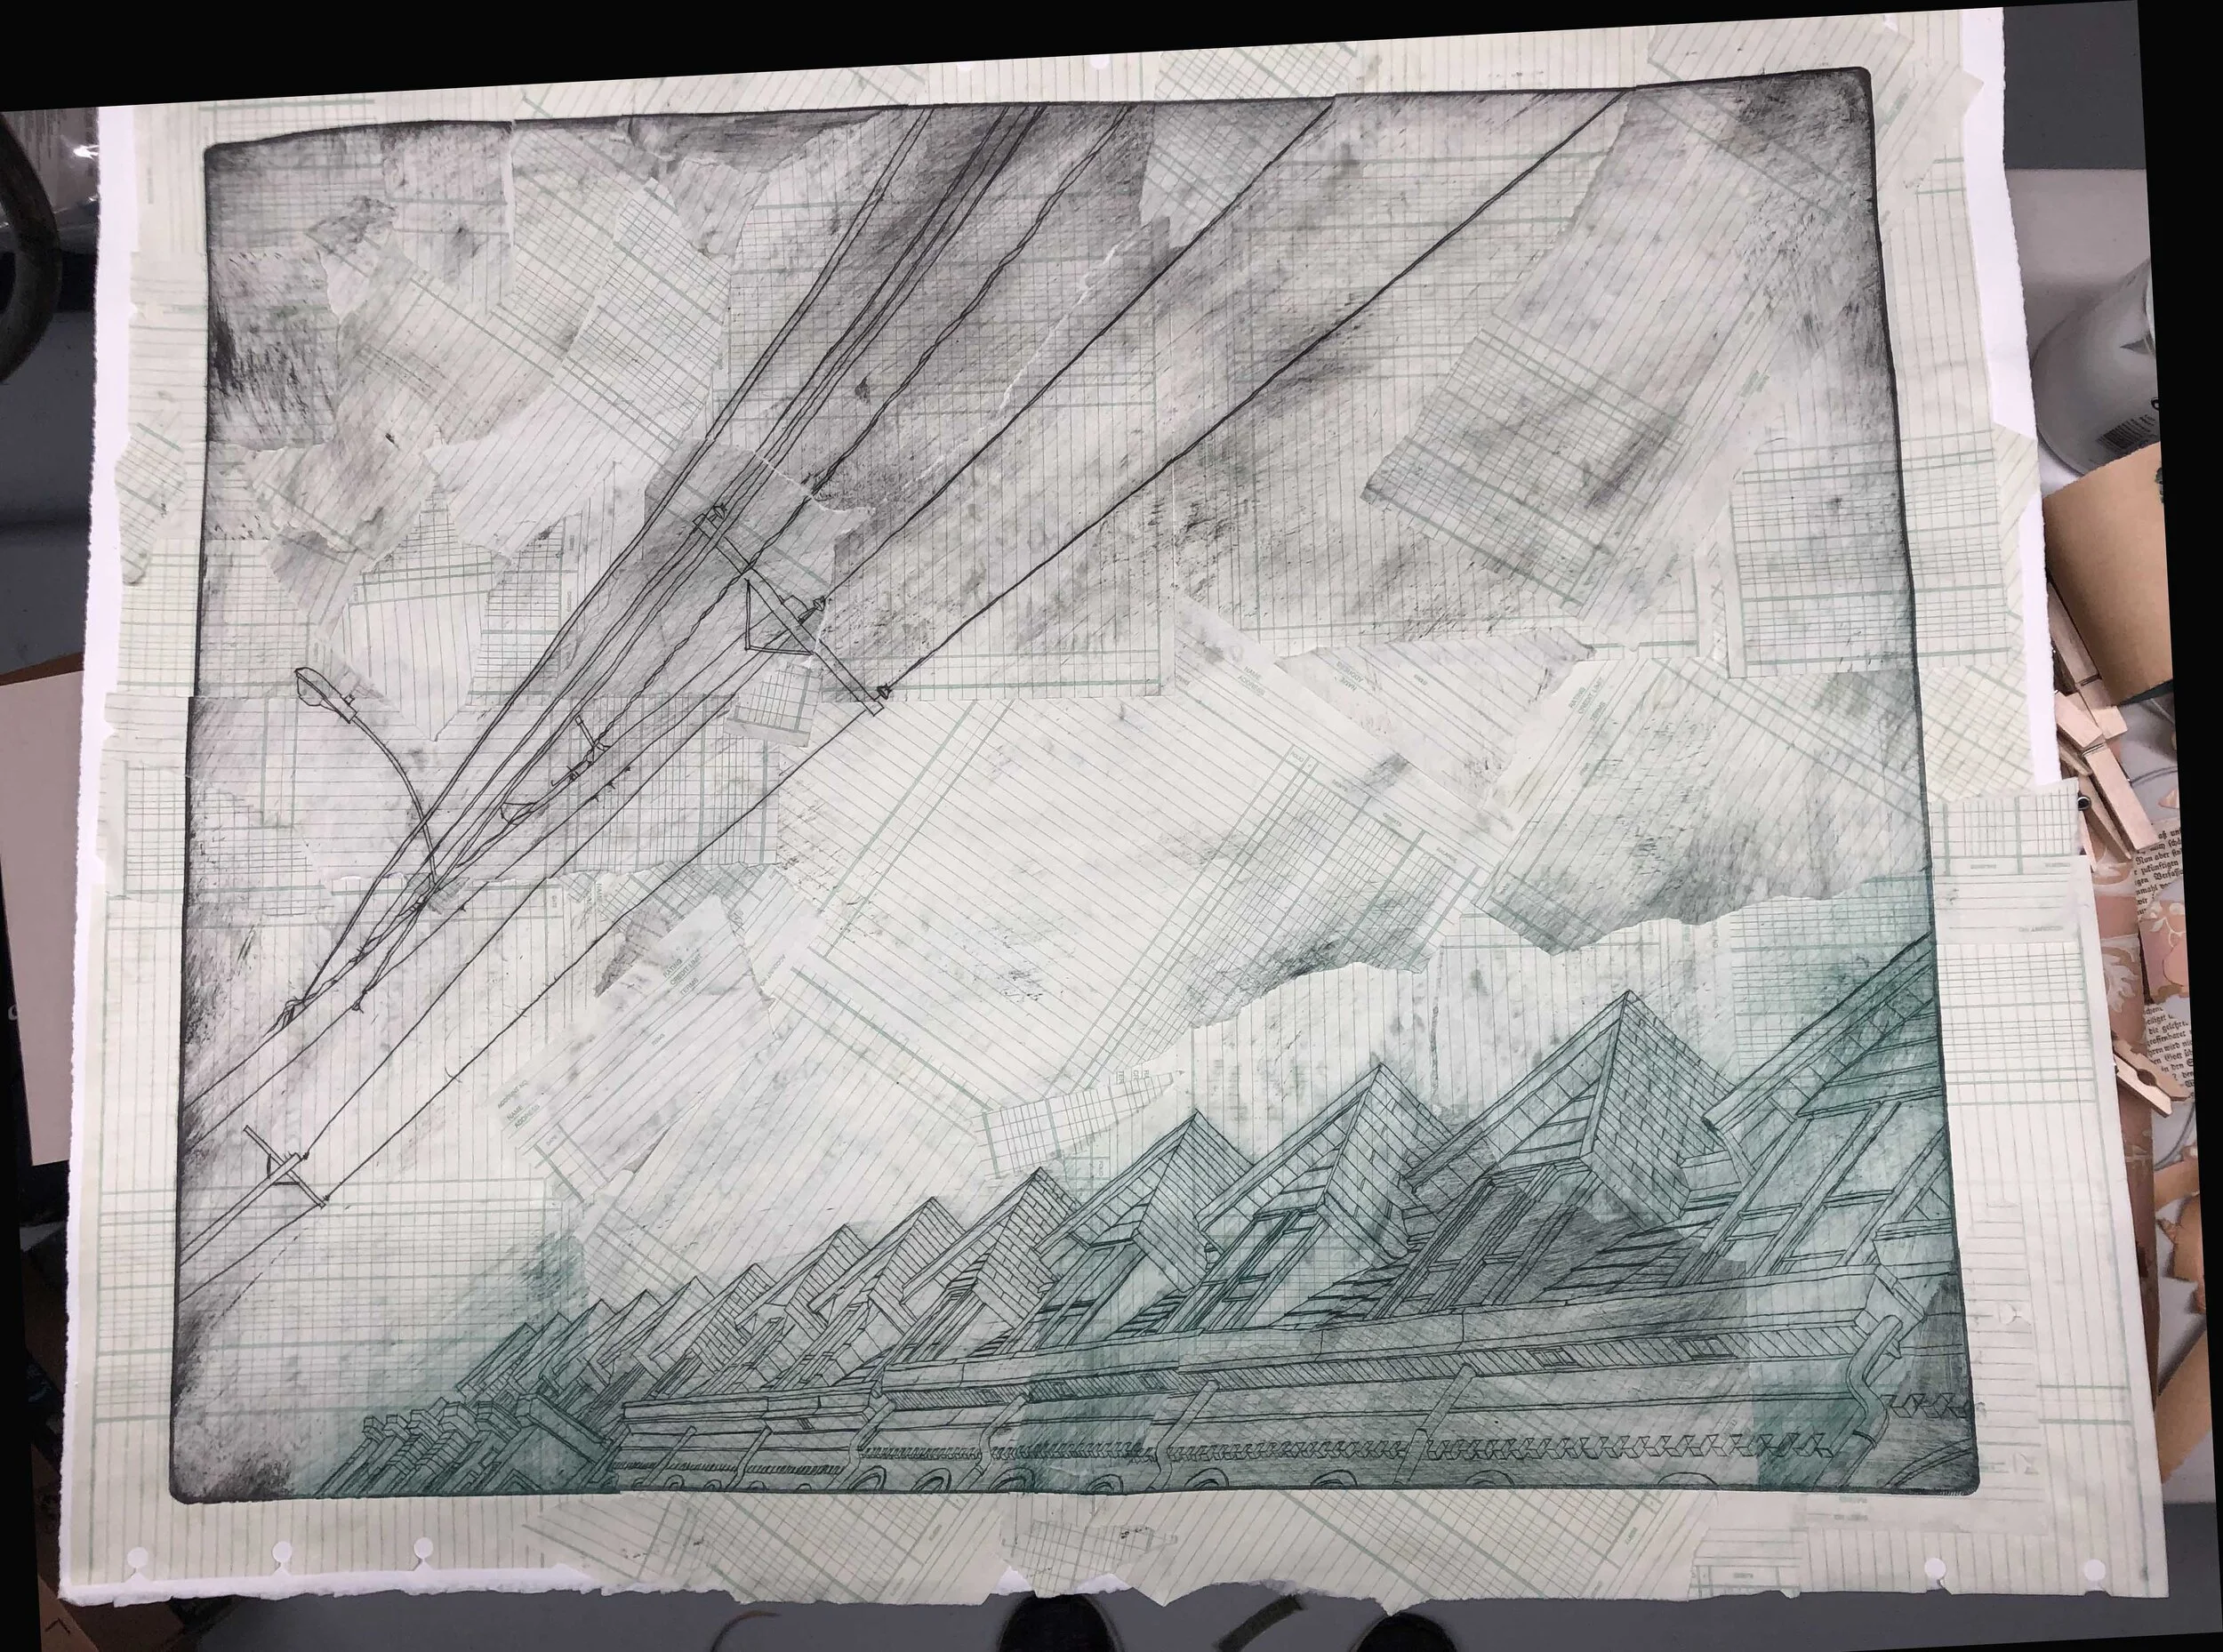
![Leaning Rowhouses [pink]](https://images.squarespace-cdn.com/content/v1/5882c79429687f5efc6ab887/1600302953675-5S6NUQJ4VSV76OT11YPL/Pink+Rowhouse+smaller.jpg)