I sometimes ruminate for awhile over several pieces before I get into them. Once I’ve settled on something, I will edit and revise it many times in my head before I actually get into it.
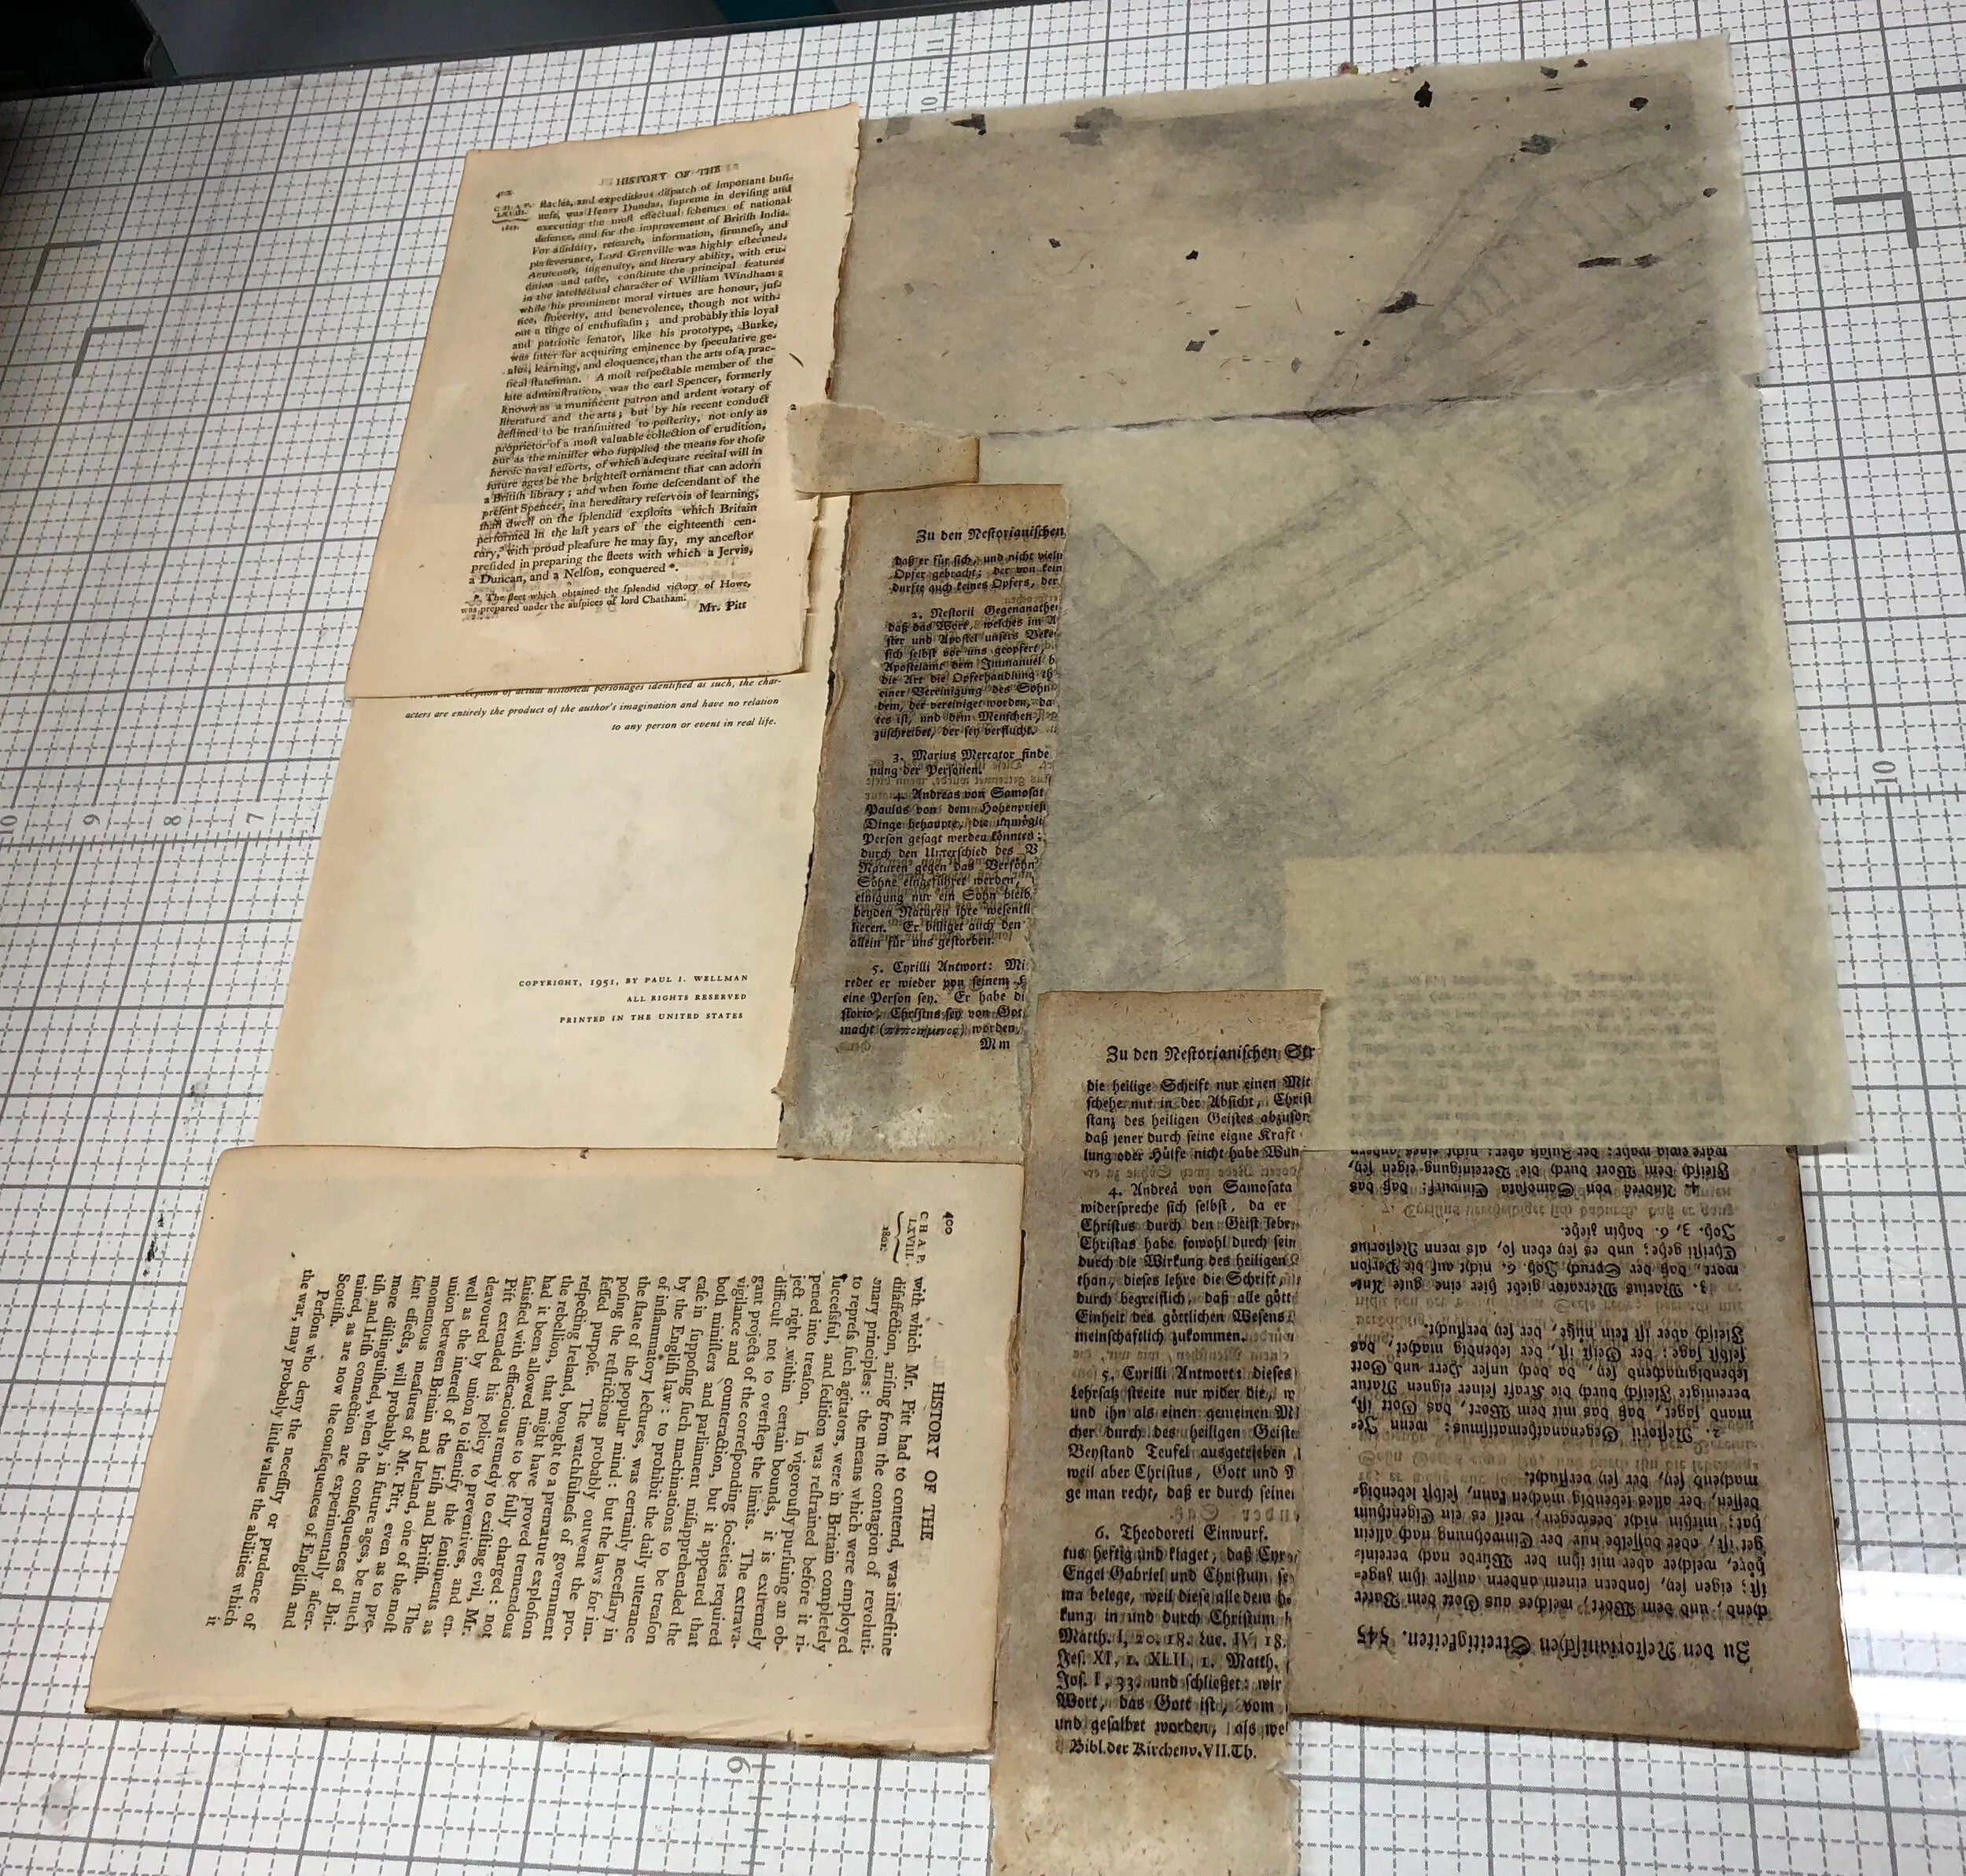
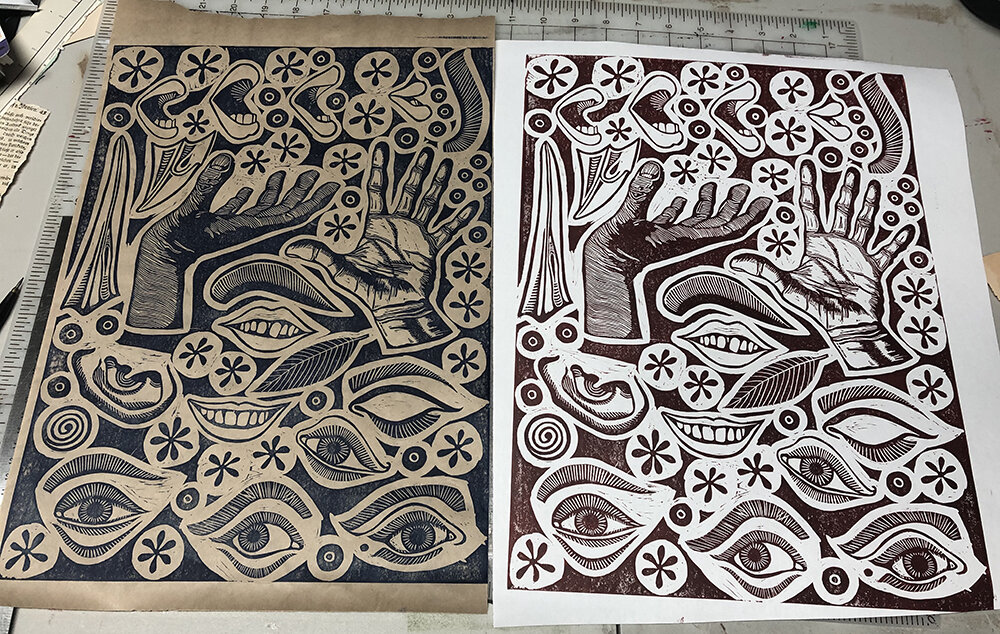
Printing elements for a piece is usually not a precision activity. It’s more like a whirlwind of paper scraps and inks mixed haphazardly, printed with wild abandon, and stacked on the rack to dry. In this case, I knew I wanted to work with shades of brown and deep red, so I pulled out some inks and plates and began printing on stuff from sheets of construction paper from Goodwill to kraft paper from Lowes Home Improvement to scraps of stuff off the floor. This will give me plenty to work with I think.


![Leaning Rowhouses [green]](https://images.squarespace-cdn.com/content/v1/5882c79429687f5efc6ab887/1600302236930-TM4NOZ9A80T161X76BRZ/Schorr_Natalie_12+smaller.jpg)

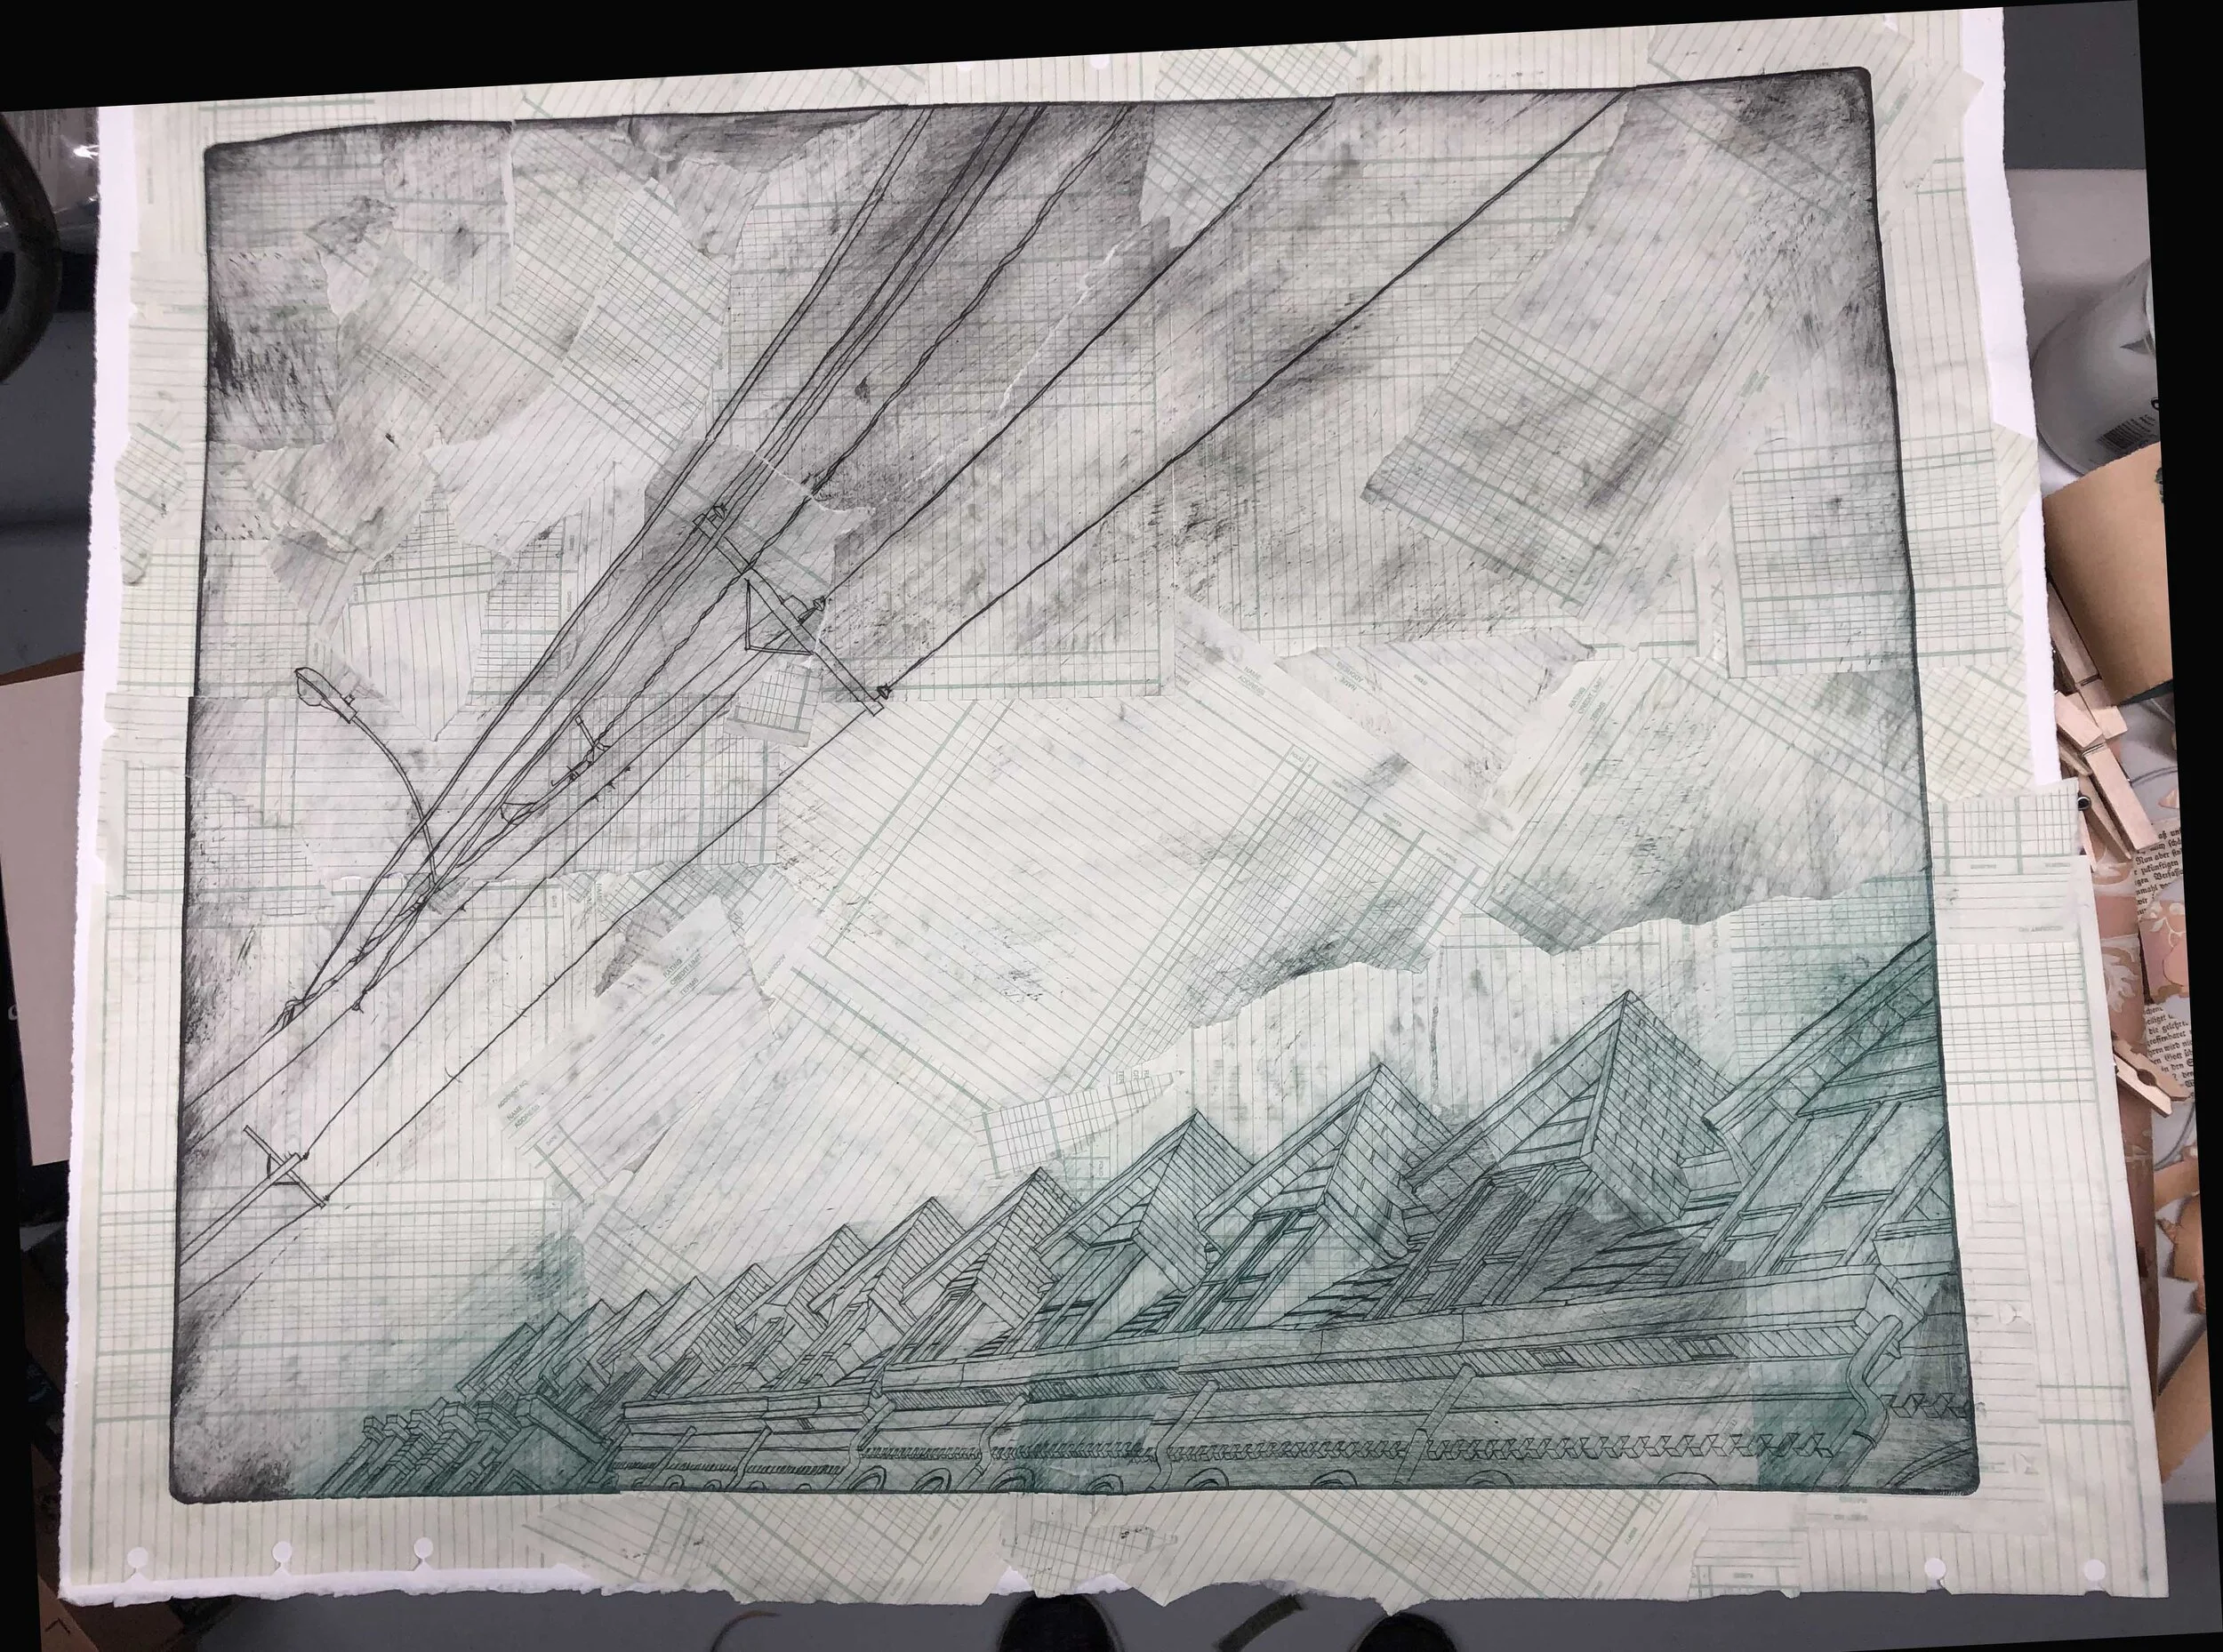
![Leaning Rowhouses [pink]](https://images.squarespace-cdn.com/content/v1/5882c79429687f5efc6ab887/1600302953675-5S6NUQJ4VSV76OT11YPL/Pink+Rowhouse+smaller.jpg)